

We Believe in Best Quality
+91 84600 12684
info@ashokpolymers.com
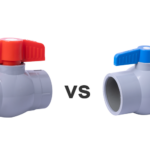
Ashok Polymers is specializes in research, development and manufacturing of all kinds of valves, Products include Single Piece Ball valve, Polypropylene Flanged Ball Valve, Solid ball valve, foot valve, Plastic Ball valve, PP Ball Valves, PP elbow, Pipe Fittings, union ball valve, PP Cocks, Connector with different specifications.
 Previous Post
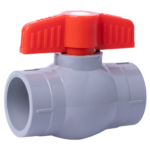 Next Post